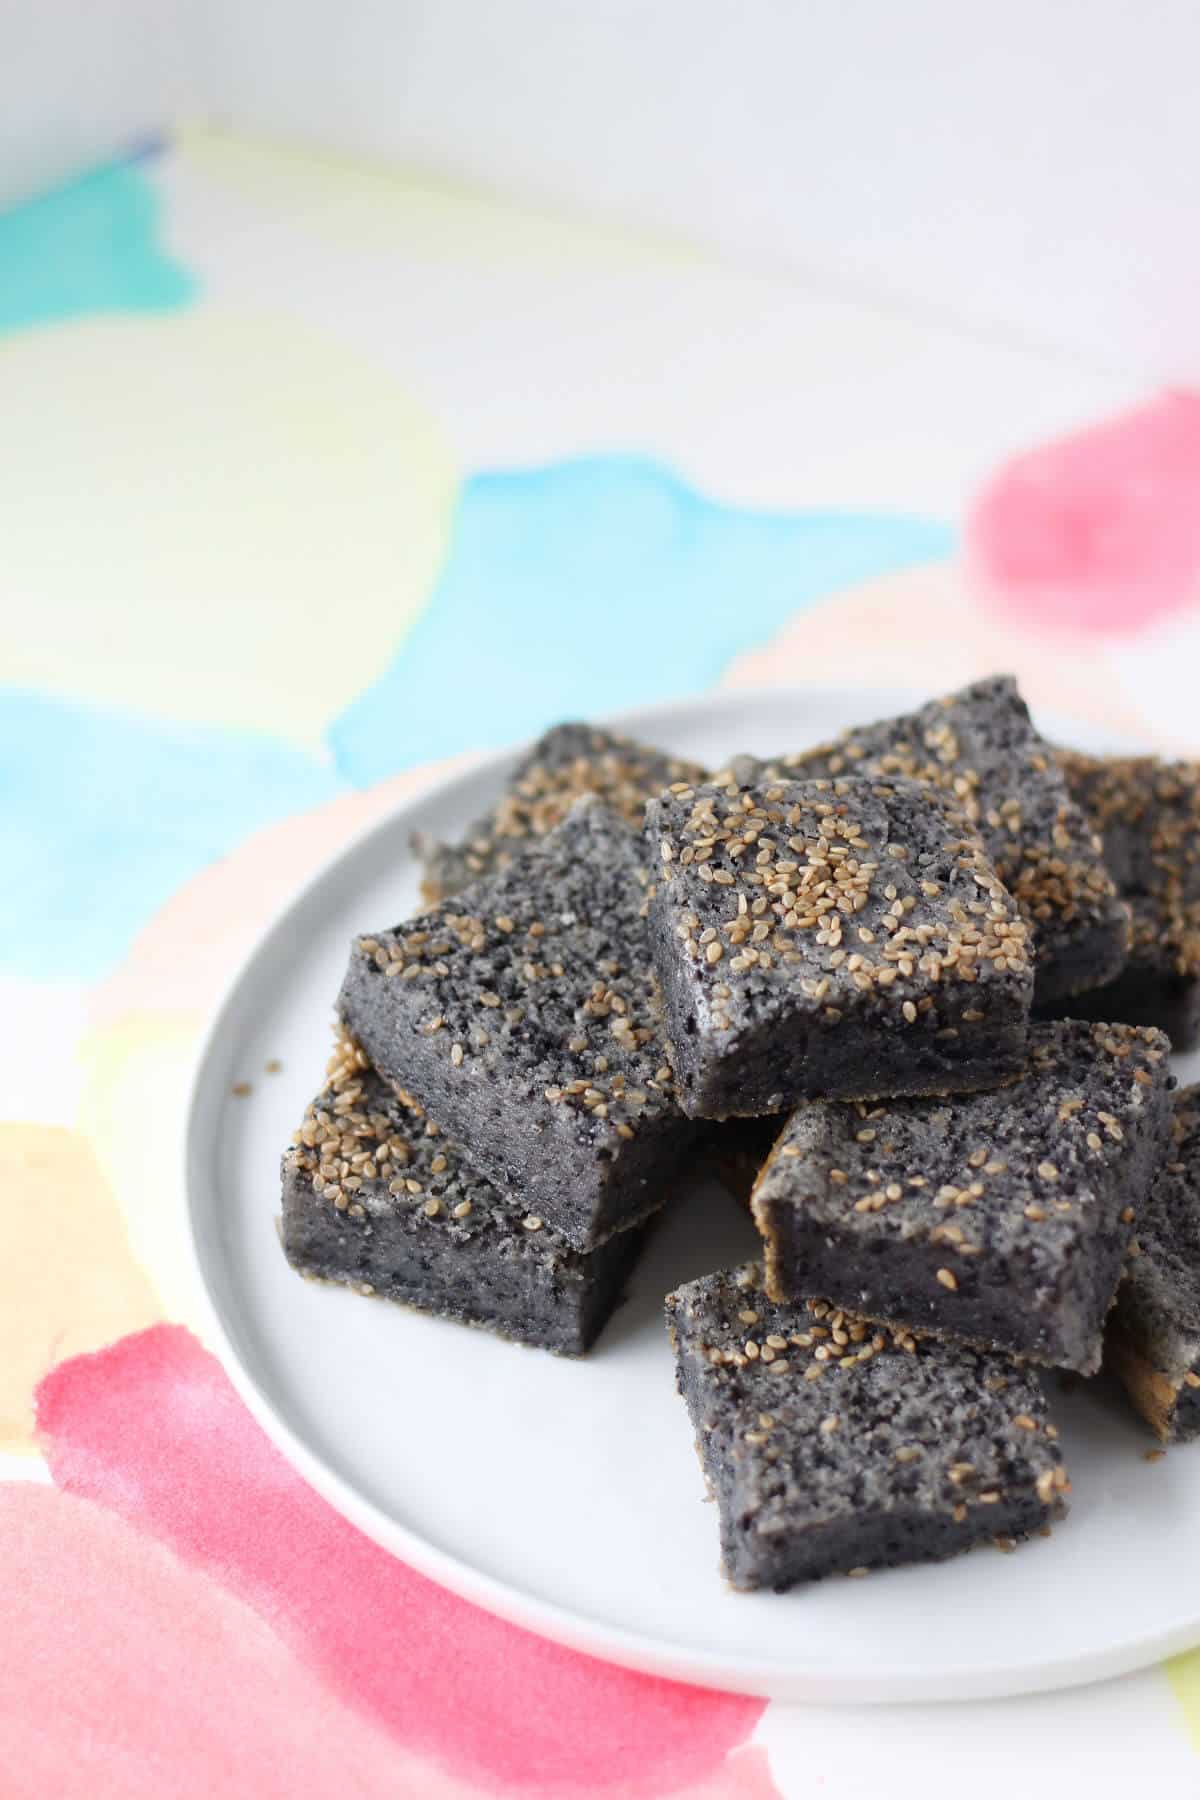
This black sesame mochi is nutty and toasty from all the black sesame seeds, and it’s addictively chewy too!
Ingredients
Glutinous Rice Flour
If you’re not familiar with sweet rice flour, it’s a gluten-free flour made of ground up rice. This is what gives the mochi its signature chewy, bouncy texture.
Be sure to not mix it up with rice flour, which doesn’t provide the same texture. A package of sweet rice flour should say “sweet rice flour”, “glutinous rice flour” or “mochiko” (the Japanese word for mochi flour) on it.
You can usually find this at Asian grocery stores near the baking supplies or other flours. I’ve had luck at Chinese, Japanese, Korean and Filipino grocery stores within the San Francisco Bay Area, some of which is occupied Ohlone land.
Sesame Seeds
This recipe uses black sesame seeds, aka unhulled sesame seeds.
Contrary to what I believed when I was younger, black sesame seeds are sesame seeds with the hull still on, rather than getting their color from being toasted.
Their flavor is more intense than the brown/tan/white hulled sesame seeds, though you’ll still want to toast the sesame seeds to bring out as much flavor as possible before using them in this mochi (especially for seeds that have been languishing around for a while).
In case you have a mountain of leftover black sesame seeds and you’re tired of sprinkling them onto every rice bowl you ever make, how about this black sesame latte or black sesame ice cream?
How to Make
I should probably clarify that this recipe ends up gifting you with a pan of baked mochi, rather than steamed mochi, similar to the one used in this peanut and coconut mochi.
Aside from differences in how they get cooked, the former is more dense in texture, whereas the latter is softer and squishier (though still chewy!).
Now that we got that out of the way, let’s break down what the recipe requires of you.
First, toast up some black sesame seeds until fragrant. This intensifies the flavor, and doing this first lets you cool them down a bit before trying to grind them (idk about you but being hit with flying hot sesame seeds does not sound like a good time).
While you wait for the sesame seeds to cool, combine the dry ingredients. These include the sweet rice flour, salt and baking powder.
Then, grind the sesame seeds. A spice grinder, food processor, countertop blender or immersion blender works well for this step.
I prefer using an immersion blender since I don’t have a spice grinder, and because the volume is pretty small, a countertop blender doesn’t grind the seeds as evenly as an immersion blender.
For anyone not using a spice grinder, I suggest you mix the sugar and sesame seeds together so that 1) you have a little more volume to engage the blender’s blade, and 2) any oils released from the seeds get mixed into the sugar and you don’t lose any to the container you’re blending in.
You’ll know that the sesame seeds are finely ground enough when the sugar is clumpy like damp sand and there are no more whole sesame seeds visible.
Mix the ground sesame seeds and sugar in with the other ingredients, then mix in the remaining ingredients: butter, eggs, milk and vanilla.
Whisk thoroughly until combined. This is the perfect time to reach for a whisk, because it mashes up the egg more efficiently than a spatula.
There’s no need toworry about overmixing this batter. For a baked good (ie a layer cake), overmixing can lead to too much gluten forming and the cake becoming dense, but since there’s no gluten or wheat flour involved, you can mix aggressively without concern.
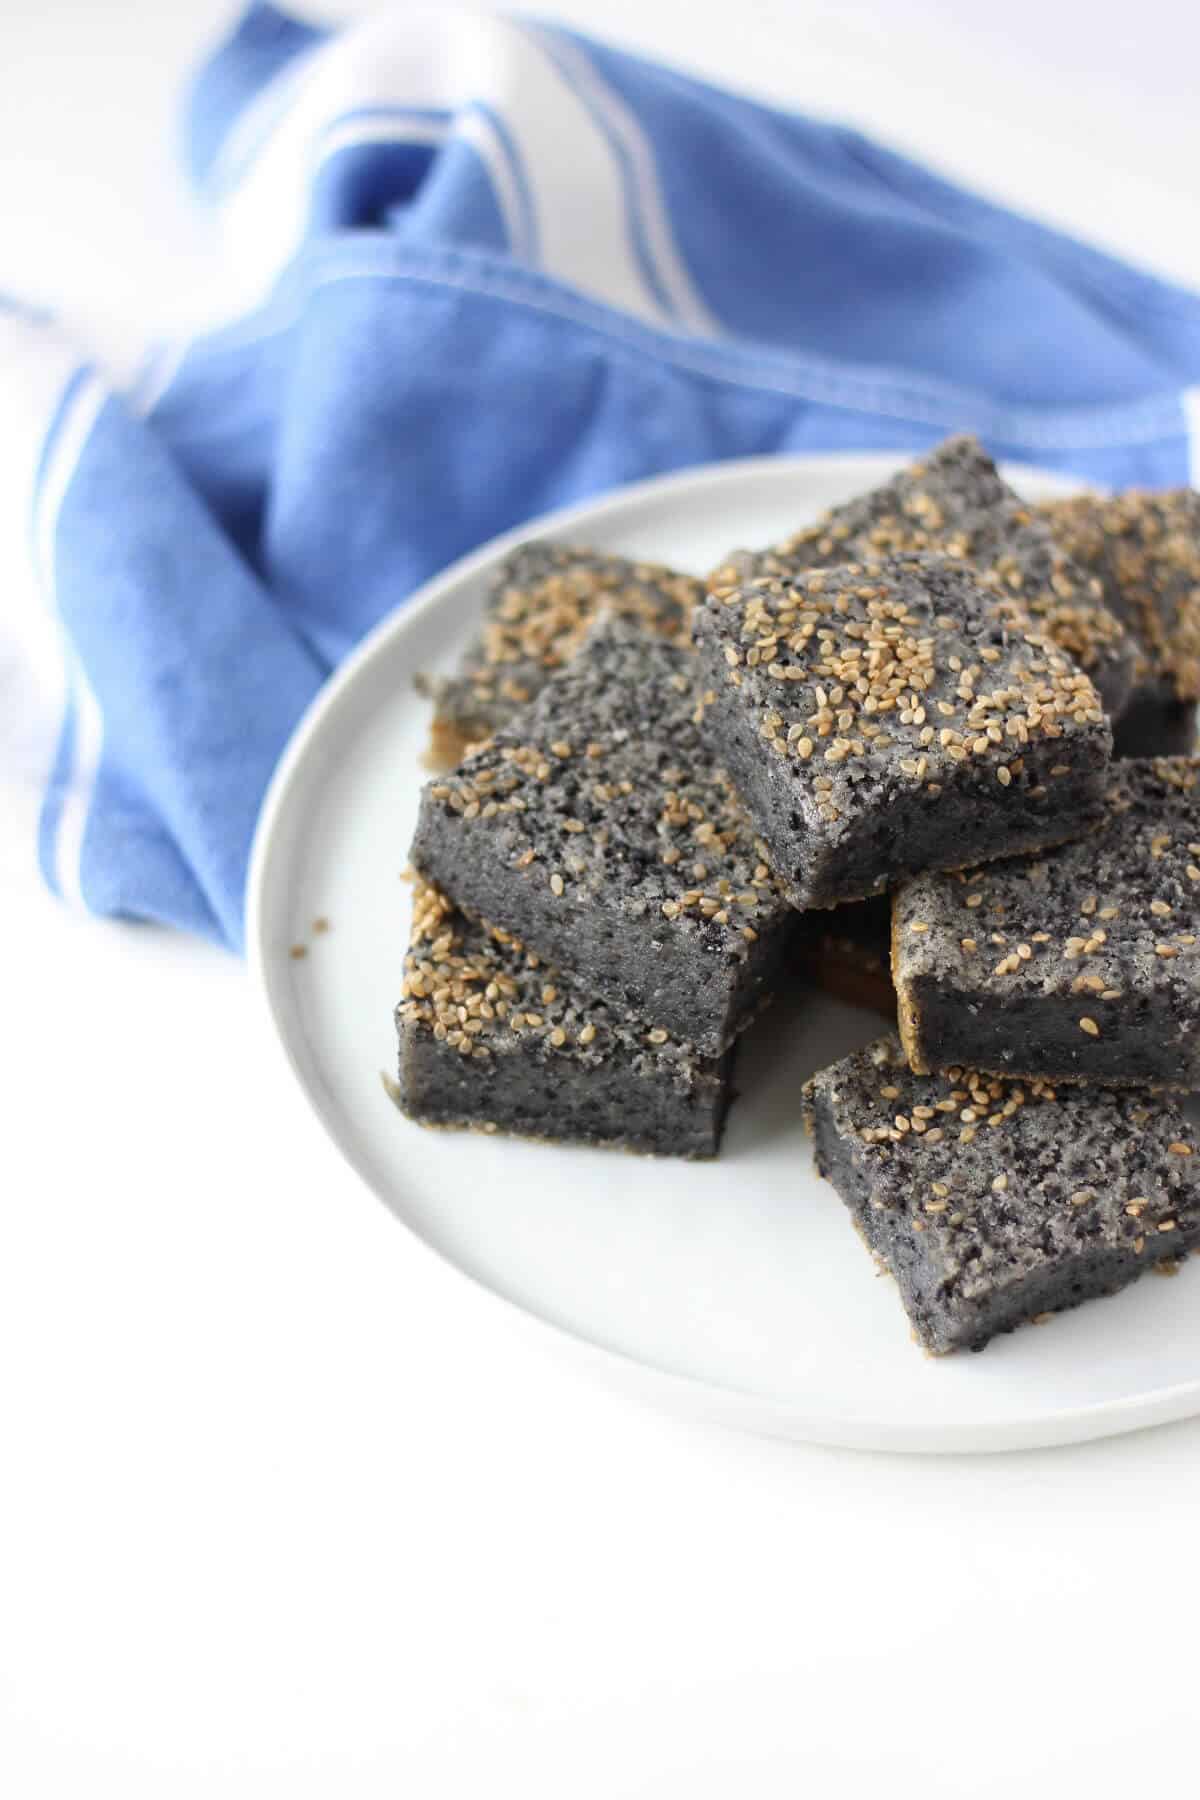
Pour the batter (it should be fairly thin) into a greased 8 by 8 inch square pan, then sprinkle the top with some brown sesame seeds.
You don’t have to adorn the mochi with additional sesame seeds, though the pop of color and extra crunch they contribute are definitely nice if you have some on hand.
(You can also add more black sesame seeds on top and you’ll still get the crunch, just not the contrasting color between the whole seeds on top and the mochi underneath).
Bake the mochi for 30 minutes, or until a toothpick inserted into the center of the mochi comes out completely clean.
Other good signs when checking for mochi doneness:
- The top should be firm when gently pressed.
- There are some really big and uneven bubbles erupting from the top (these will deflate after the mochi has time to cool).
I know you’re feeling impatient and want to devour some immediately, but hold your horses. Mochi doesn’t take on its signature texture until after it has time to cool, so make sure you wait before eating.
Taste
So how does it taste?
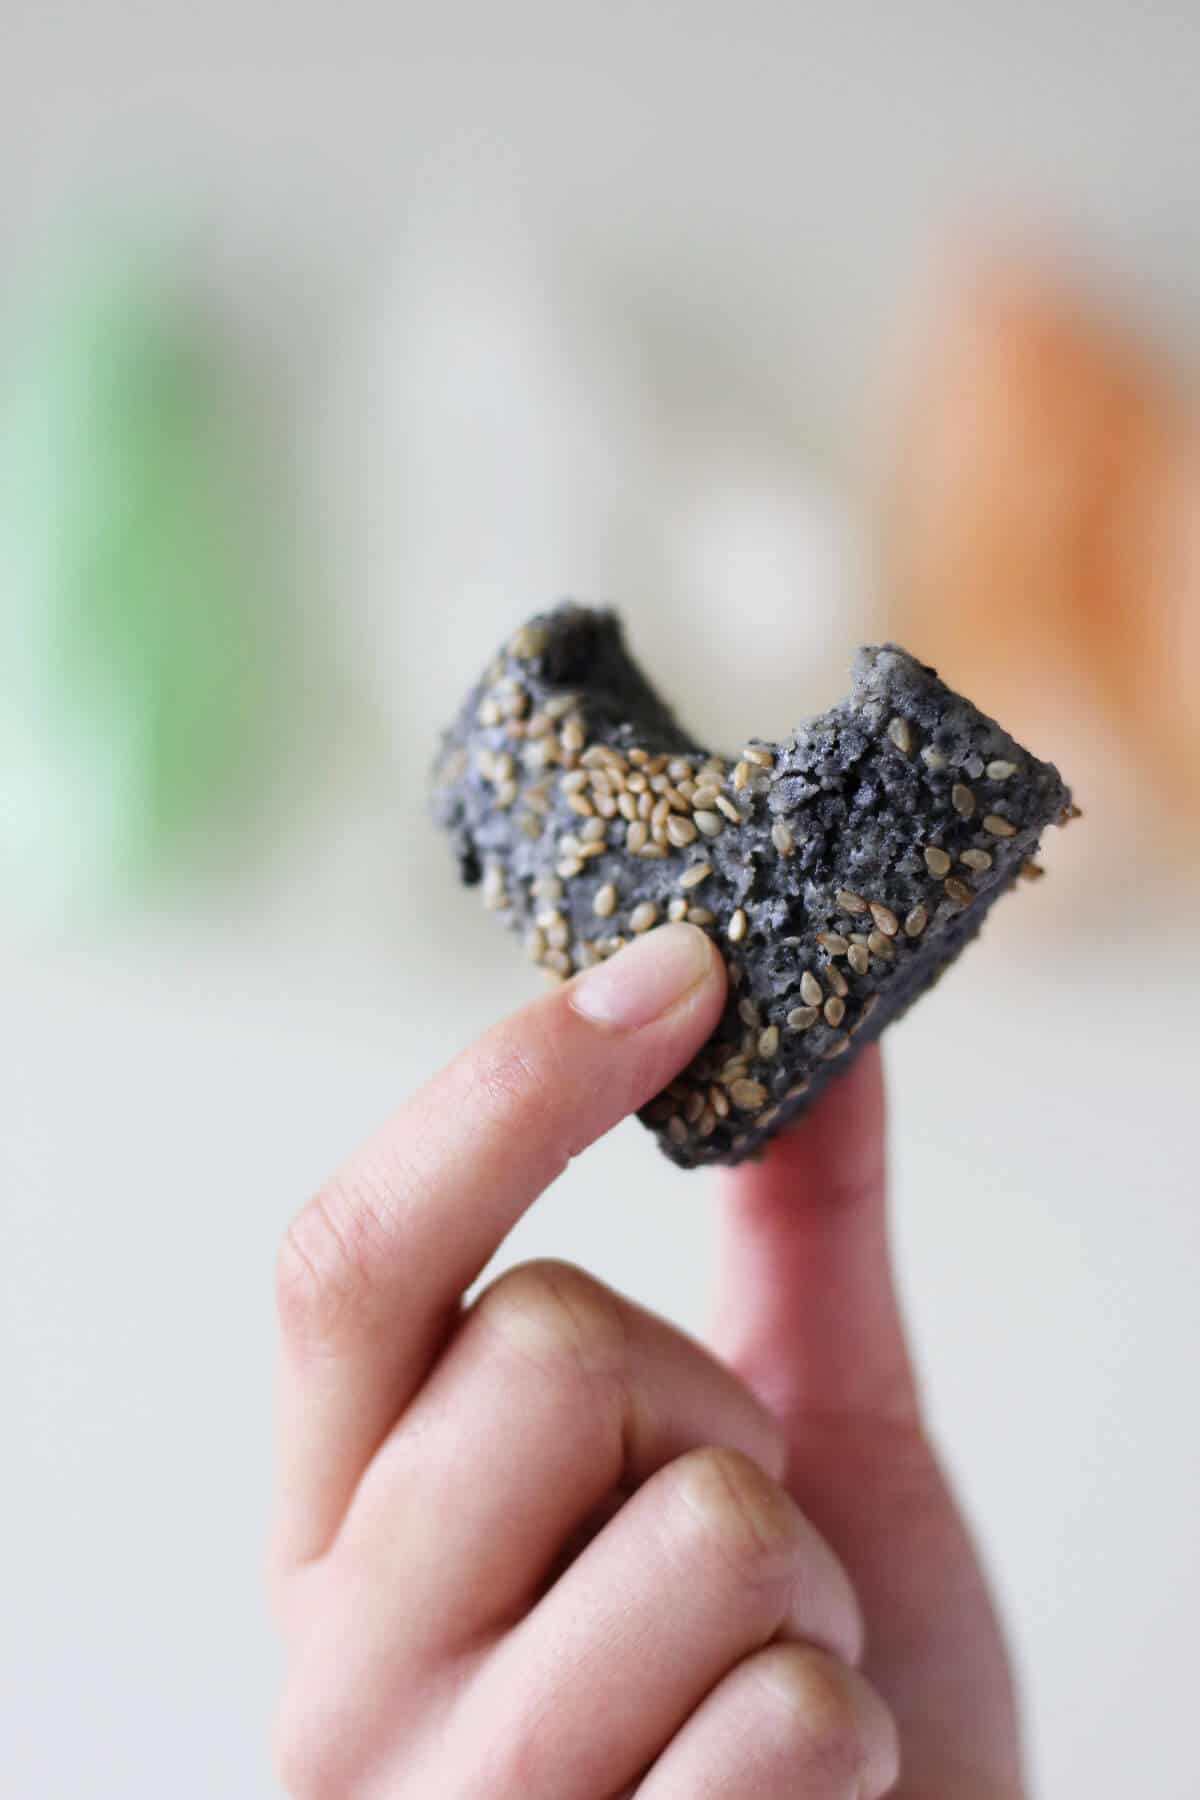
Sesame is the main flavor in this dessert, making it taste nutty and toasty.
The texture is a little harder to describe, especially if you’ve never had anything made with glutinous rice flour (ie custard mochi or even the mochi ice cream you can find at grocery store freezer sections) or tapioca starch (ie the boba in milk tea) before.
The closest comparison I can think of is a really firm and chewy (in a good way!) version of the tapioca in tapioca pudding. You should probably taste some mochi for yourself instead of relying on this lackluster descriptor though.
My favorite parts of the mochi to eat are the corners, which are a little crispy from being baked right up against 2 sides of the pan.
Make Ahead and Storage
This recipe skews quick and easy, the kind you’d be able to make the morning of the day you’re planning to serve it. Despite that admittedly biased opinion, you can definitely make this ahead of time.
The mochi keeps well at room temperature for up to 3 days, and I’d recommend keeping it at room temperature during this time period.
For any mochi older than 3 days, I’d refrigerate it for up to 4-7 days more. Because mochi firms up after it sits in the refrigerator, you will have to reheat it to get the mochi to soften up and relax again.
I like warming leftover, refrigerated mochi in a toaster oven (this encourages those crispy edges to reappear!), or you could microwave it in a pinch.
If you’re not going to be able to finish eating all of the mochi within a week, I’d recommend you freeze it. It keeps surprisingly well in the freezer, and you can eat the defrosted mochi without reheating it.
Of course, you can reheat any defrosted mochi and it’ll be delicious, too.
Variations
Should you only have brown sesame seeds, you can use those in place of the black sesame seeds. Heads up that the flavor might be on the milder side versus using black sesame seeds.
Instead of whole black sesame seeds, you can alternatively buy pre-ground, though I personally think the flavor is fresher and more intense when you grind them yourself.
Milk-wise, you can pour in any that you’d like. My preference is whole milk, as it lets the sesame flavor shine without trying to fight for your tastebuds’ attention.
Coconut milk is delicious in this recipe, so long as you know to expect a lighter black sesame flavor since the coconut can be strong.
I’m sure someone will ask – no, you can’t substitute a different kind of flour here in lieu of the glutinous rice flour. Nothing else can give the mochi the same texture.
From all the extensive boba research I’ve done (read: a lack of self control and an inability to go on long walks without a drink in hand), I have a hunch that tapioca starch could be worth a try.
I haven’t made mochi with tapioca starch before so take that with a grain of salt. If you try it, let me know how it goes!
Last thing - you can double this recipe. Double the ingredients, pour into a 9 by 13 inch pan, and bake for up to 1 hour.
- ½ cup black sesame seeds
- 1 ½ cups glutinous rice flour
- ½ teaspoon kosher salt or ¼ teaspoon table salt
- ½ teaspoon baking powder
- ¾ cup granulated sugar
- 2 large eggs room temperature
- ½ teaspoon vanilla extract
- ½ stick unsalted butter melted and cooled
- 1 ½ cups milk room temperature
-
In a small nonstick pan over medium-low heat, add the sesame seeds and stir occasionally. Toast until the sesame seeds are fragrant, then remove from the heat and let cool.
-
In a medium bowl, combine the flour, salt and baking powder.
-
In a blender (countertop or immersion) or food processor, add the sugar and black sesame seeds, then blend until it looks like damp sand and there are no sesame seeds visible.
-
Add the sesame and sugar mixture to the dry ingredients, and mix until combined.
-
Add the eggs, vanilla, butter and milk to the dry ingredients and mix until combined.
-
Grease an 8 by 8 inch pan, then pour in the mochi. Bake at 350F for 30 minutes, or until a toothpick inserted into the center of the mochi comes out clean. Cool completely before cutting into squares and serving.
-
The mochi can be stored in an airtight container for up to 3 days. It can also be stored in the refrigerator for up to 1 week, or in the freezer for up to 1 month. If you refrigerate the mochi, make sure you microwave or toast it before eating. If you freeze the mochi, you can defrost and eat at room temperature or heat it up.
If you have a spice grinder, you can grind the sesame seeds alone, then mix into the sugar.


Shirley says
Hello!
Thanks for posting your recipe. I just made his and the mochi came out delicious but for some reason the ground sesame part all separated and rose to the top so there were 2 layers. What do you think went wrong there? I made no substitutions.
Thanks in advance!
-Shirley
Heather says
hi there - not sure why the sesame separated, and haven't had that happen to me before. a few things that could have happened: the batter sat for a bit before getting baked, and it naturally separated. or perhaps your oven is a bit cooler, so the batter had time to separate before it could set? hopefully it was still delicious though!
Dorothy says
Substituted milk with oat milk and butter with Earth Balance to make it dairy free. Also made it in a 9” round pan because that’s what I had. Came out GREAT! Even better after storing in the fridge to get extra chewy. Have previously used canned coconut milk in mochi cake so thought it might taste less rich with oat milk but not at all.
Claire says
I also had an issue with the sesame and mochi separating into two layer (and butter pooling on top in the oven). Some potential issues: I tried using tapioca starch. I also didn't use room temp milk and eggs and tried to balance the temperature with mixing it with warm melted butter haha. Please let me know if you think any of these could have been the issue~ I want to try this recipe again!
Yee says
Can black sesame paste be used as a substitute?
Sonja Florman says
Really wonderful recipe. This was my first time baking anything with sweet rice flour or black sesame seeds. (I needed about 8 minutes more cooking time than the 30 minutes.) I used my food processor to grind the roasted black sesame seeds with the sugar, as you suggested. Worked perfectly. I am serving it with a Japanese meal this weekend. My hubby and I made homemade banana ice cream to pair with it. I see in your photos you have toasted sesame seeds on the mochi. Did you bake the mochi with the seeds or decorate afterward?