For anyone who loves mochi, why not try add it as a topping to your milk tea? It’s chewy and bouncy, perfect for mixing up your homemade treat rotation.
Ingredients
Making mochi topping is pretty similar to making other kinds of steamed mochi, whether it’s chocolate truffle filled mochi, or taro stuffed mochi. The components are the same:
- Glutinous rice flour
- Granulated (aka white) sugar
- Kosher salt
- Water

The ingredient that is likely the least familiar to the majority of you out there is glutinous rice flour. This is what gives mochi (as well as its Cantonese cousin, savory steamed taro cake [wu6 tau4 gou1], and its Hawaiian/Japanese sibling butter mochi) its signature bounce and chew.
There aren’t any substitutes for glutinous rice flour, no matter if you use plain rice flour, or all-purpose flour, so go on a field trip to your local Asian grocery store (or a well stocked western supermarket or online) for some.
How to Make
Start by mixing together the glutinous rice flour, sugar, and salt.
You might think that the sugar is unnecessary since the milk tea will be sweetened, but I promise that it makes a difference. You don’t really eat plain rice, and the same goes for unflavored mochi.
The salt helps enhance the sweetness within the mochi, and you don’t have to add quite as much sugar this way.
Once the dry ingredients are combined, add the water. The ratio for this mochi is 1 part glutinous rice flour to 1 ½ parts water, which is more watery than for a piece of mochi that you would pick up and eat.
You’re aiming for something loose enough that you can slurp up fairly easily, while also making sure it’s thick enough to be chewy.
(So we’re clear – this mochi is a little bit softer and less chewy than the more typical mochi out there, since again, you need to be able to get it through a straw).
Mix the batter until there are no lumps or dry patches of flour.
Then you have a choice for how you would like to cook the mochi. I typically steam mochi on the stovetop when I’m making a batch for dessert, but since this is a small serving (and you probably aren’t making enough to take as dessert to a family party), I recommend using the microwave here.
Place the bowl of mochi in the microwave, and cover loosely with either a piece of plastic wrap or a microwave cover. Microwave for 30 seconds at a time, stirring after each interval to make sure it cooks evenly.
The mochi is done cooking when it’s firm and doesn’t slosh around in the bowl anymore. It should be opaque and white. If you taste a little bit, it shouldn’t taste raw, not should it feel gritty. If any of these signs aren’t met, microwave the mochi a little longer.
The microwave I used to test this recipe was 1250 watts, and it took 60 seconds. According to CNET, the average microwave is 600-1200 watts, so yours might take a little longer than mine did.
Let the mochi cool slightly, then add to a cold drink!
The mochi will seem a little soft while warm; don’t worry, it’ll firm up once it sits in the ice and cold beverage for a little while.
I’m equally as guilty (or maybe diligent, depending on your pov) of carting around a reusable straw when I go out for boba, but this isn’t really the time for it. The mochi is inevitably sticky, and I’d much rather compost a bamboo straw than scrub stubborn mochi outside of the inside of a metal straw.
Give it a good stir before sipping. This helps break up the mochi, and you won’t have one big blob at the bottom of your cup that refuses to be consumed.

Storage
This topping is best served fresh!
That being said, I can understand if you want to make a huge batch of it and have it on hand for whenever you decide your job is too much to handle and you must soothe yourself with sippable mochi. (I’m sure I’m not the only one with this idea.)
Should you want to make two servings and you don’t finish it on the same day that you make it, you can put it in the fridge overnight. I’d recommend rewarming the mochi slightly (either in the microwave, covered to help it steam, or over the stove in a steamer) to soften it.
For any batch that’s too much for you to finish within a day or two, I’d recommend pre-portioning the mochi, then freezing it. Dividing it into single servings before you freeze the mochi allows you to take out as few servings as you need, rather than having to defrost the whole batch of mochi to divvy it up.
When you’re ready to have your treat, defrost the mochi at room temperature for a few hours, and it’s almost as good as fresh.
You can alternatively microwave the mochi in very short (think 10-15 seconds) intervals to make this process faster, though I’d be careful of microwaving it too much and drying it out, so check on it frequently.
Serving Suggestions
Drinks
You can use this mochi topping for any drink! I’d probably go with something on the creamy side, though I’m sure you’d be happy as long as you like the beverage.
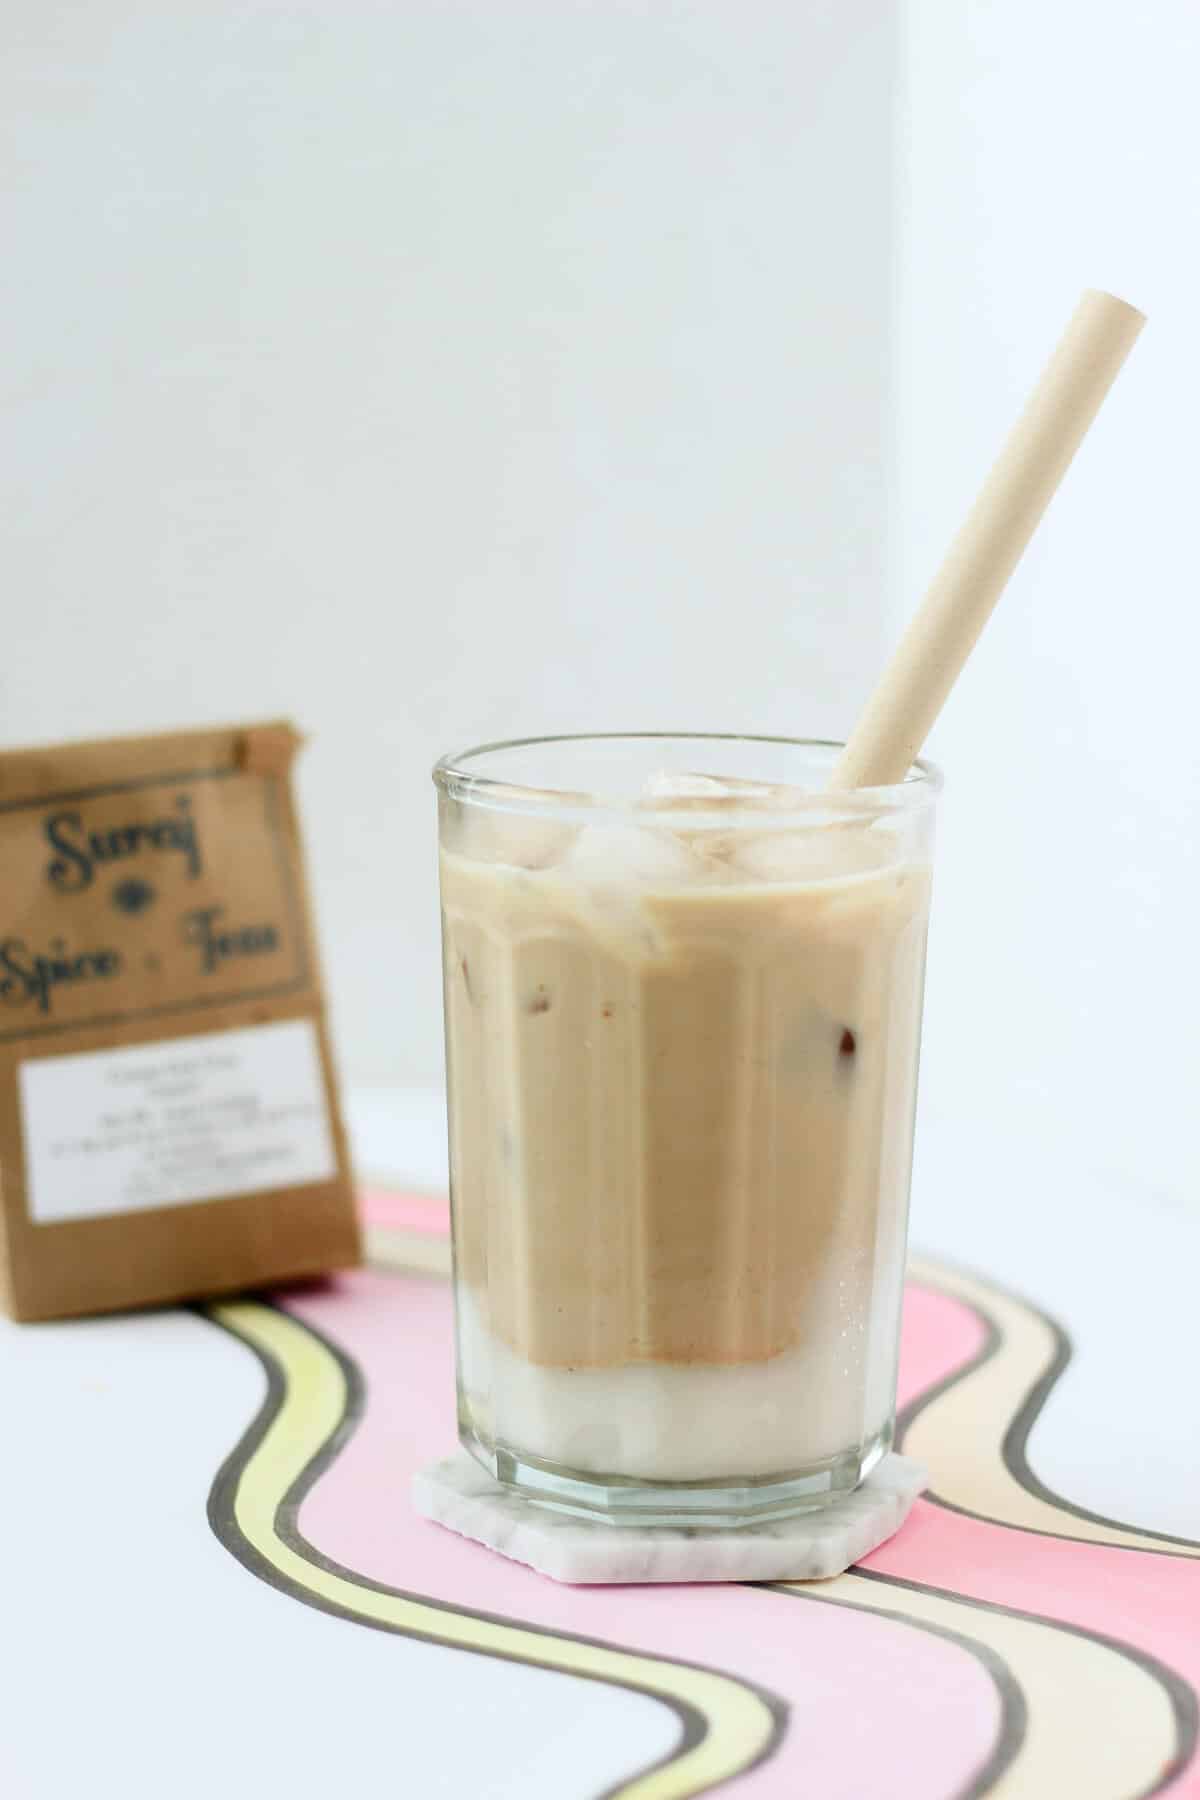
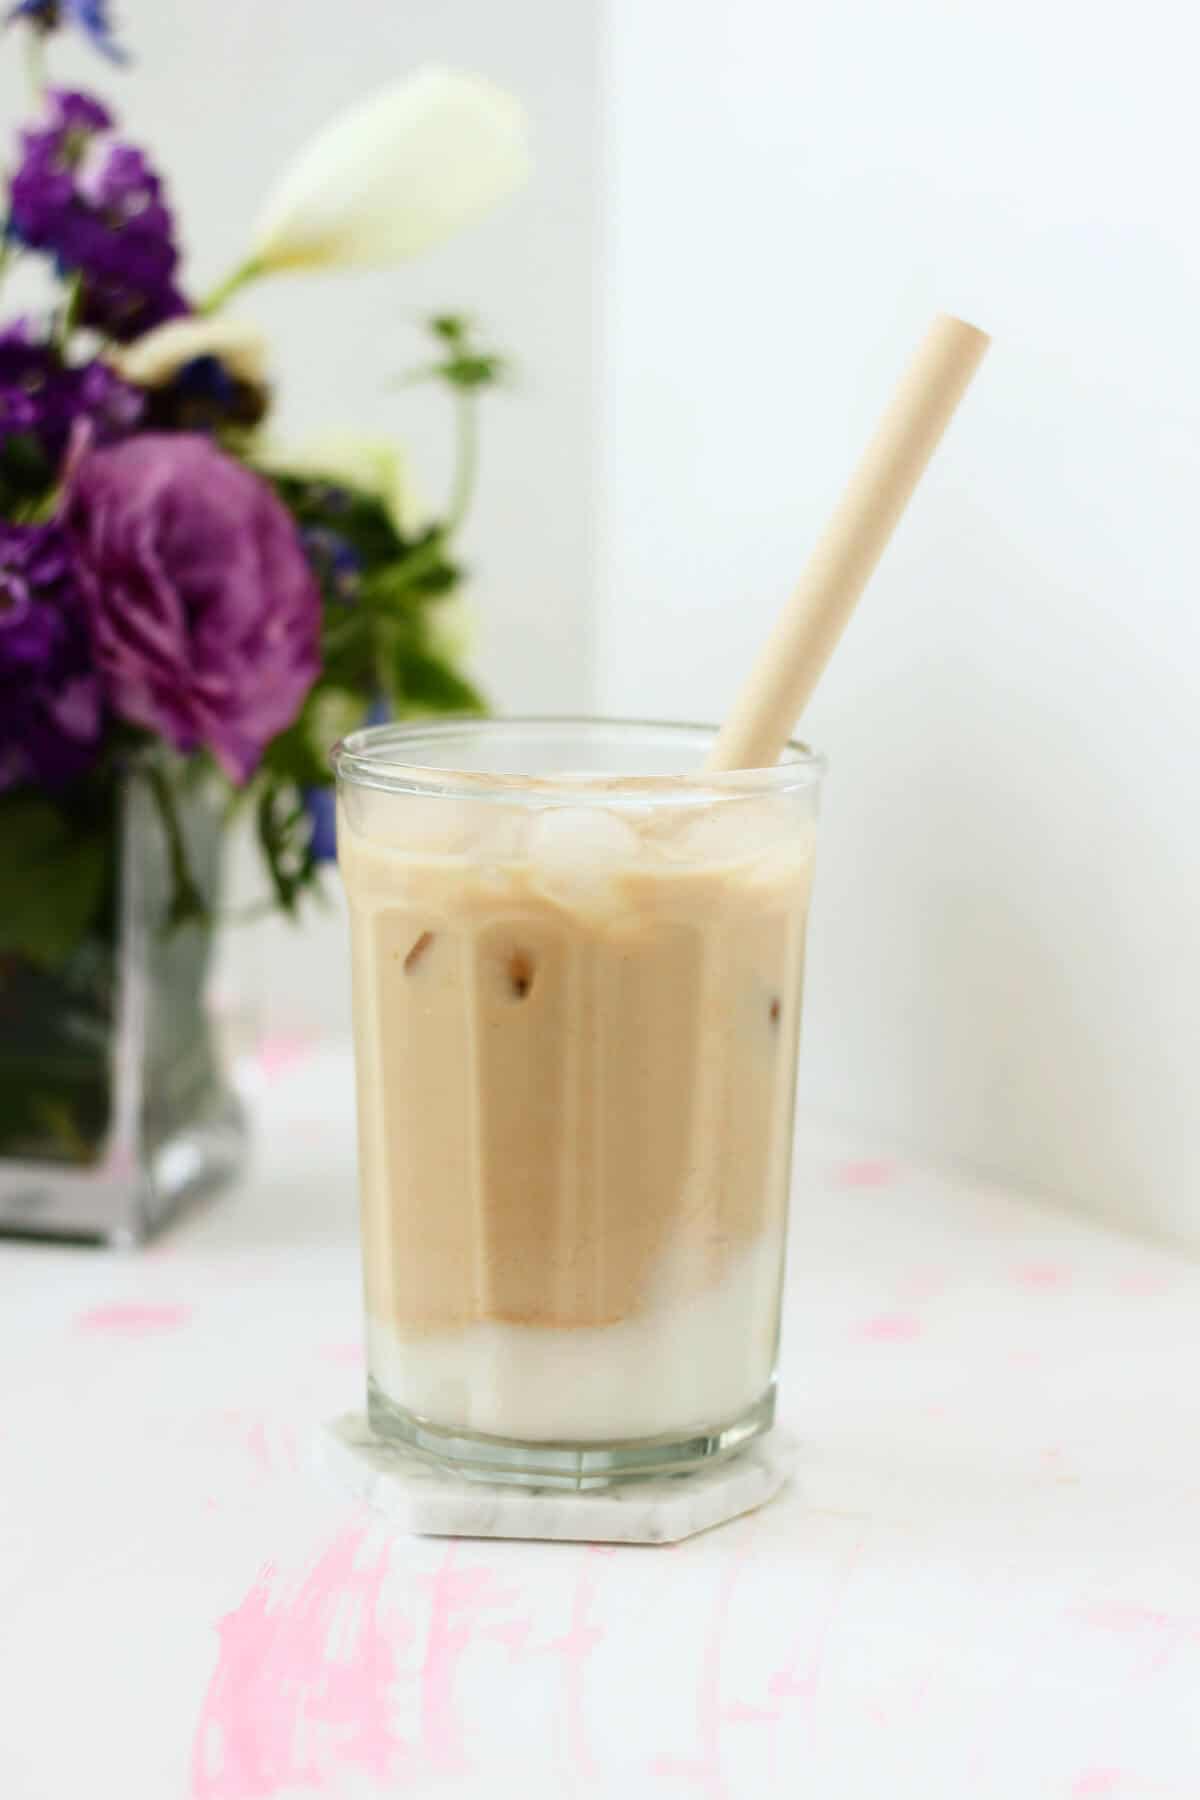
Using my go to method of using only milk (no water) to make milk tea, I made earl grey milk tea for the pictures that you see here. Along a similar tangent, oolong milk tea would also be delicious.
The built in grainy texture of something like red bean milk tea, taro milk tea or wintermelon milk tea sounds like a good pairing too!
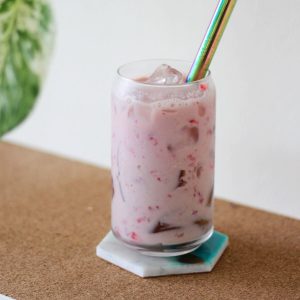
Maybe you’re not in the mood for tea: then I can imagine how tasty drinkable mochi would be in Korean-style strawberry milk, or an ube latte.
Toppings
You could keep it simple and stick to just this mochi topping in your drink, like in these pics.
Or, if you’re feeling a little frisky, why not load up on toppings? A scoop of boba, a helping of almond tofu cubes, a dollop of cheese foam, anything goes.

- 1 cup milk
- 2 tablespoons earl grey tea leaves
- 2 teaspoons + 1 tablespoon granulated sugar
- Kosher salt
- ¼ cup glutinous rice flour
- 6 tablespoons water
-
Heat the milk until steaming (using either the microwave or on the stovetop), then add the tea leaves and let steep for 20-30 minutes. Remove the tea leaves, pressing on them to extract any milk tea, and discard the tea leaves.
-
Stir 2 teaspoons sugar and 1 pinch salt into the tea until combined, then set aside to cool while you make the mochi.
-
In a small bowl, mix together the remaining 1 tablespoon sugar, 1 pinch salt and the glutinous rice flour until combined. Then, add in the water and mix until there are no lumps or dry patches of flour.
-
Cover the bowl loosely with plastic wrap or a microwave cover, and microwave for 30 seconds at a time. Stir with a heatproof, nonstick spatula to make sure the mochi is cooking evenly. It’ll be done when it’s opaque and firm, and not gritty to the touch (you can also taste it; it shouldn’t taste raw).
-
It took 60 seconds using a 1250 watt microwave, so you might have to cook longer/shorter depending on how powerful your microwave is.
-
Let the mochi cool slightly.
-
Scoop the mochi into your serving glass, then add a few handfuls of ice. Pour in the milk tea. Give the drink a good stir (I don’t like using reusable straws here, since the sticky mochi can be a pain to clean out of the straw) to break up the mochi a bit, then enjoy!
You don’t have to make earl grey milk tea; feel free to use this topping for any drink you’d like!
You can cook the mochi over the stove instead if you would like; it’s such a small portion that I prefer to do it in the microwave.
You can store leftover mochi in the fridge if you’re only storing for 1 day; if you’re storing for longer, freeze the mochi in single serving portions and place in an airtight container for up to 1 month.


Marjorie Zimmerman says
This is the best web page on the internet! ❤️❤️❤️ Yes, milk tea with mochi is my current soothing drink too!
Hiroshi says
I never thought to actually put mochi into the tea itself. It's a brilliant idea. It worked out great. Thank you for the recipe. 🙂