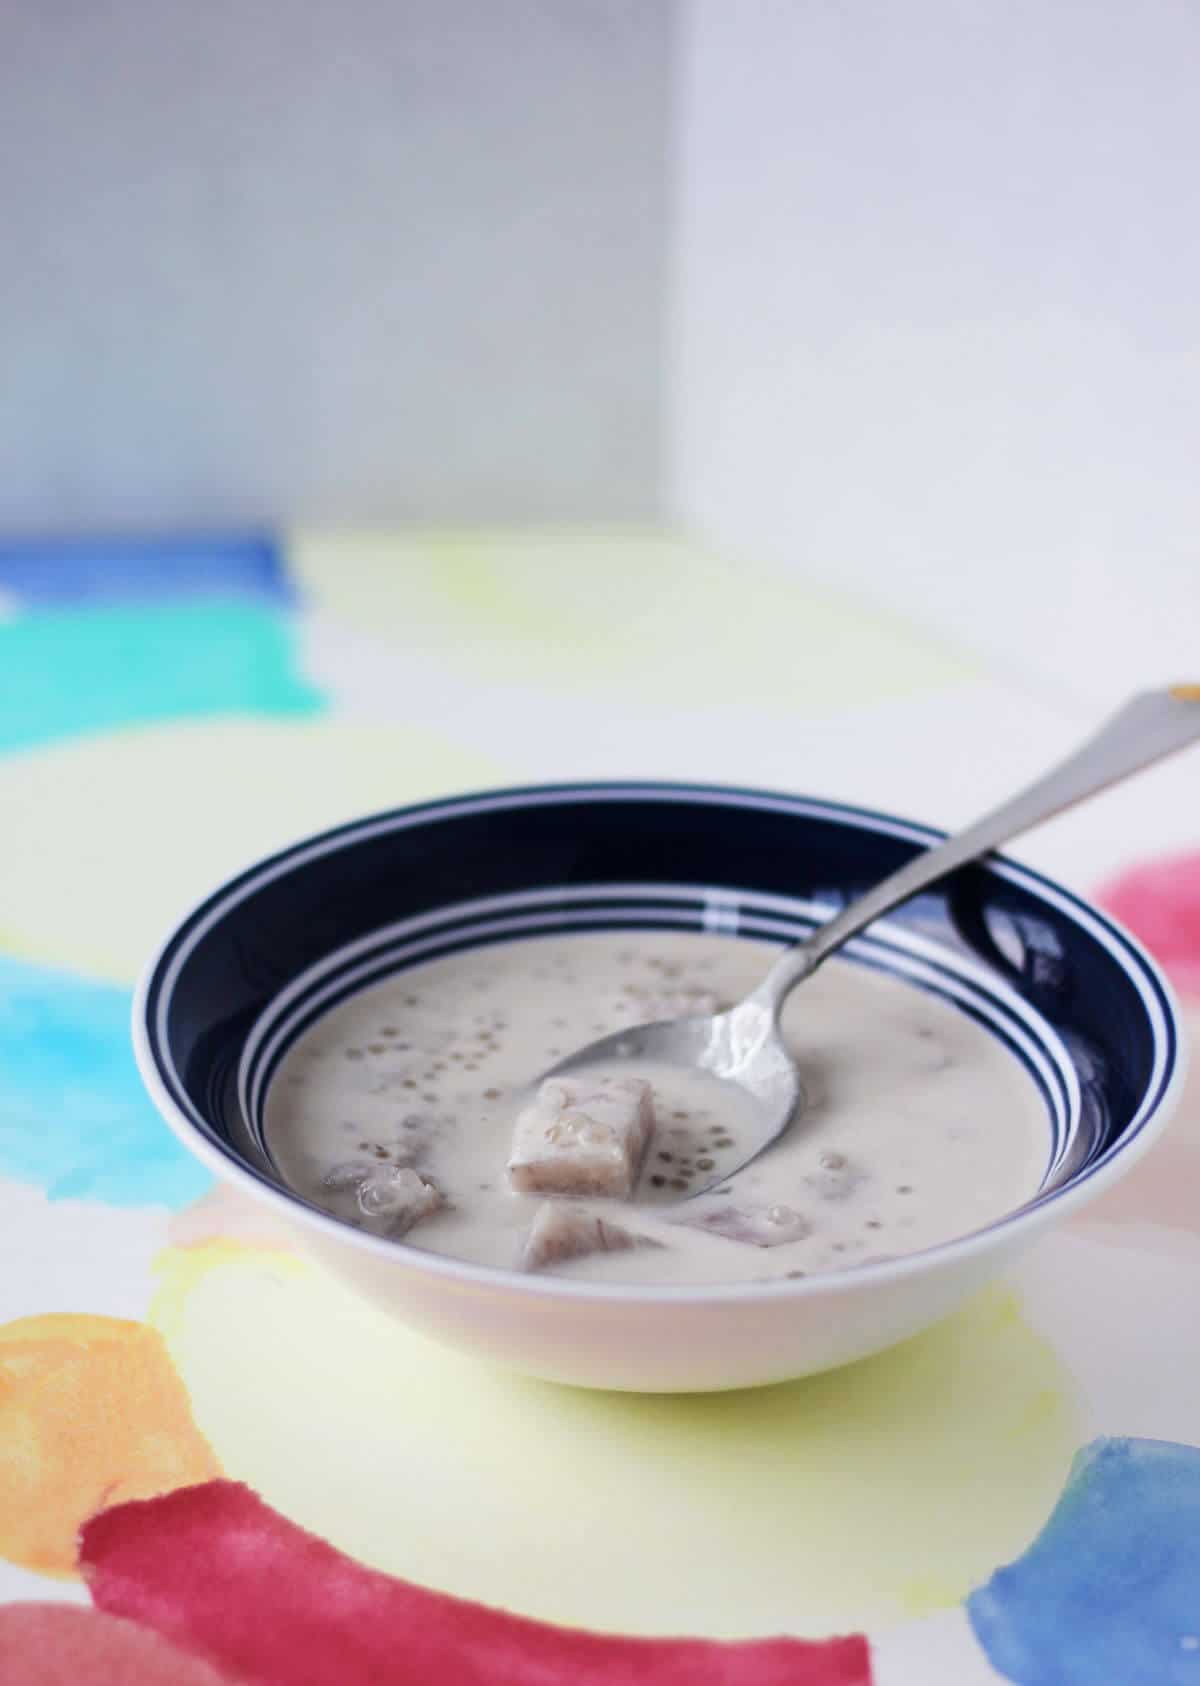
Taro sago, or wu6 tau4 sai1 mai5 lou6 in Cantonese, is a Chinese dessert made with tender taro, creamy coconut milk and plenty of chewy sago.
Ingredients
Taro
Taro is a root vegetable typically used in Asian cuisines. I’m most familiar with it in the context of Cantonese, Taiwanese and Chinese food, including this taro sago and wu6 tau4 gou1 (steamed savory taro cake).
That being said, I’m also a sucker for a good taro drink, whether it be a taro latte or a taro milk tea.
I typically find taro at the local Chinese grocery stores near me. You’d probably have luck at other Asian grocery stores as well.
You may see fresh taro with its hairy brown skin on, stored at room temperature near the other root vegetables.
Sometimes you can find it peeled and vacuum sealed in the refrigerated section as well. Taro goes bad very quickly at room temperature (within a matter of hours it feels like), so it has to be refrigerated after cutting.
In order to use taro, like most root vegetables, you need to peel it first (assuming yours isn’t peeled). Taro has a hairy brown skin, which definitely isn’t something you’d voluntarily eat.
Cooking Taro – H3
Taro isn’t an ingredient to be eaten raw (would you eat a potato raw? I don’t think so), so it needs to be cooked before you eat it.
I usually boil peeled and cubed taro, since that’s the fastest way to cook it, although you can steam it instead.
Sometimes I pan-fry par-boiled cubed taro as a side dish like a play on homefries, and I love how crispy the edges get. Not quite relevant to this decidedly not crispy dessert, but a good to know in case you have extra taro and you’re too lazy to do anything else with it.
Sago
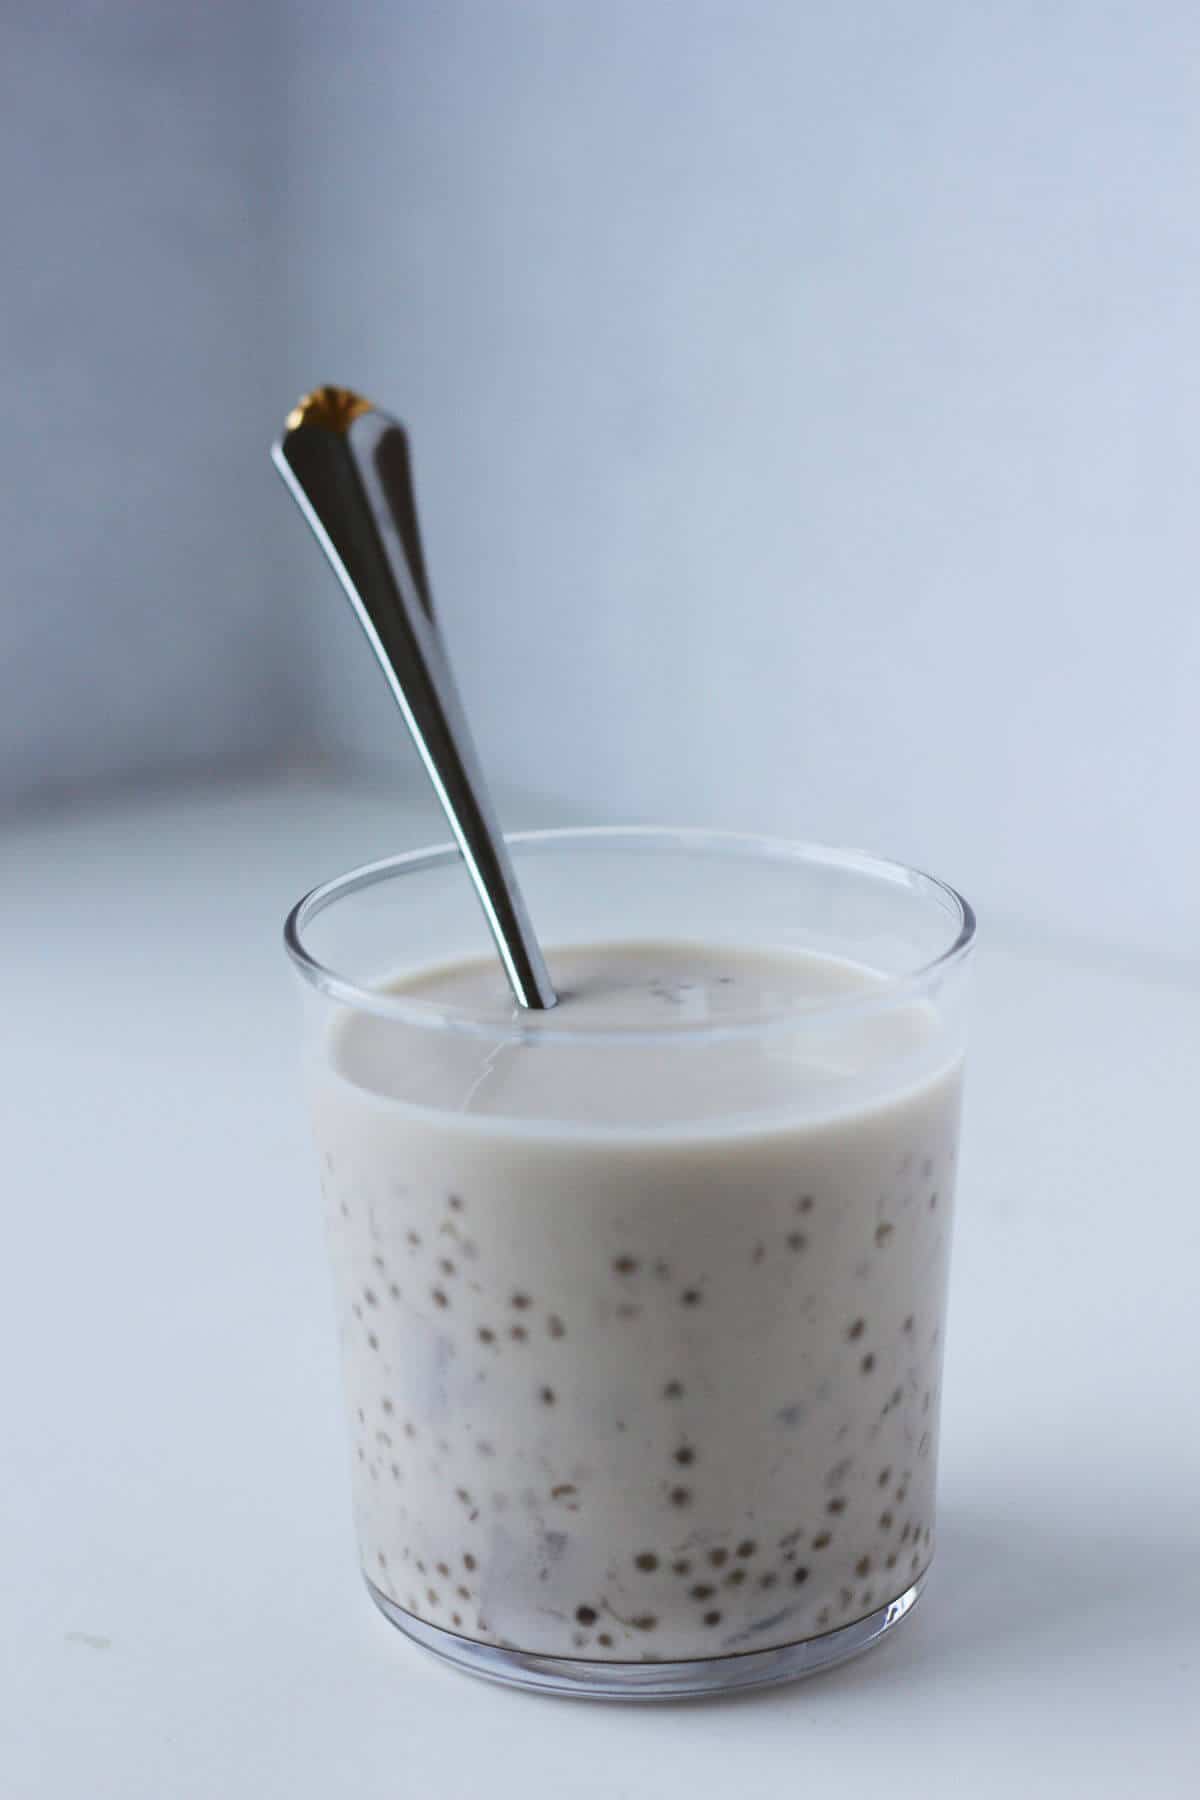
Sago are mini tapioca pearls that are kind of chewy, like boba (because of the differences in size though, sago isn’t quite as chewy and bouncy).
Sago can be found in the maze in the middle of a Chinese grocery store, near the boba and other dried goods.
You will likely have extra sago after making taro sago, so make sure to check out this mango pomelo sago too!
How to Make
First, prep the taro. This is the part that takes the longest, so it makes sense to start on this before the other ingredients.
Peel the taro if needed, then chop into similarly sized cubes.
Bring a medium pot half filled with water to a boil, then drop in the taro. Let the taro cook until it’s fork tender but not falling apart, usually 20 minutes.
Maybe you turned away for a little too long and the taro looks grainy and mushy; not to worry. The super soft taro will mix into the coconut milk later seamlessly.
Once the taro is cooked through, drain off the water and set the taro aside.
Fill the same pot you used for the taro with more water, and bring to a boil. Add the sago and cook for about 15 minutes, or until the outside of the sago is clear and the inside has just a dot of opaque white.
When I’m not sure if the sago is done, I taste a pearl or two. They should be bouncy and chewy, not powdery or dense.
Drain the water off from the sago, making sure to use a fine mesh strainer due to how small the sago is.
Now it’s time to combine everything together! Place the taro and sago in a big bowl with the coconut milk, brown sugar and a little water and salt.
Since the taro is pretty tender, try to fold the mixture instead of stirring aggressively to keep some of the taro intact.
If the sago is sticking to each other, gently nudge it apart with your spatula. When the sago is surrounded by enough liquid, it’ll stay separated.
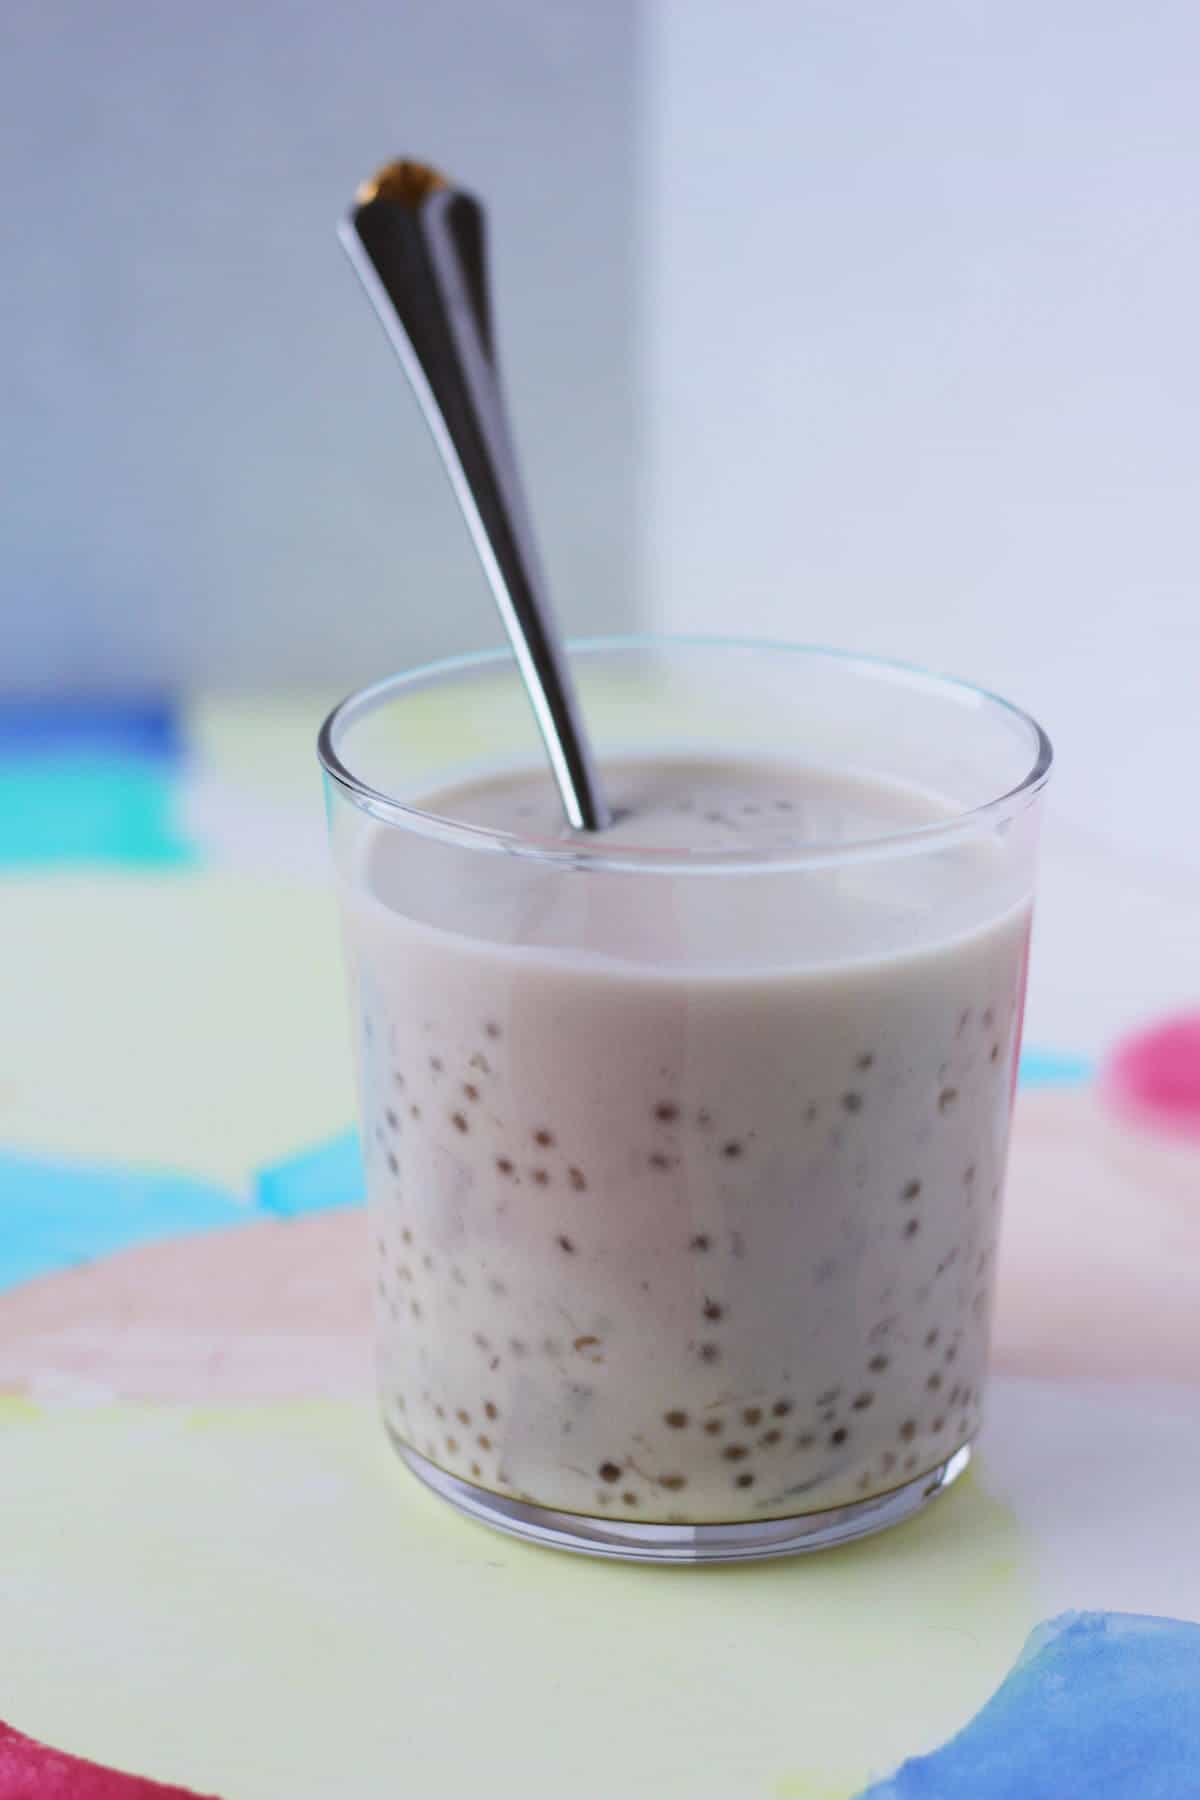
Ladle into bowls or cups and serve!
Tips
Serving
Taro sago is best served within a few hours of making it. The sago is at its most chewy and bouncy before it has had a chance to absorb a bunch of liquid, making it soft.
This dessert is delicious either hot or cold, so don’t worry about keeping it at a specific temperature.
Make Ahead
If you don’t have enough time to make the recipe from start to finish on the day that you’re planning to serve it, you can boil the taro and stir it into the coconut milk. Then, as late as possible, cook the sago, and marry it into the taro and coconut milk.
Storage
Any leftovers can be stored in the refrigerator for up to 3 days. Again, it’s best on the first day, and the longer the sago sits, the more its texture wilts.
Since the sago soaks up so much of the coconut milk, the overall dessert can be really thick and almost pudding-like on day 2 or 3. Should you want to thin it out, you can stir in a bit of water, or milk (ideally something not full fat, because the taro sago is already rich enough).
Variations
Flavoring
This dessert is pretty subtle in flavor, so if you want to gild the lily a little bit, feel free to do so!
Maybe slide a few slices of ginger into the taro or sago cooking water, or a bit of orange peel. Both of these ingredients are fairly common in Chinese and Cantonese desserts, so it’s all in the same family.
Although it’s less traditional, I can imagine how tasty almond extract (only a few drops though, since it can be a pretty strong flavor) would be as well.
Sweet Potatoes, Ube, Taro
The amount of taro in here is my personal preference, but you can use more or less taro.
I’ve seen versions of taro sago out there that are definitively more aesthetic than this one, with taro shaped by a cookie cutter instead of a knife. I’m not a huge fan of cleaning cookie cutters so I probably wouldn’t, even though the uniformity that you’d get would be nice for making sure the taro cooks evenly.
If you want a more colorful dessert rather than something barely lilac and mostly white, feel free to mix in some orange sweet potato or purple ube.
Milk
This recipe uses mostly full fat coconut milk, with some water to thin it out. You can mix and match as you would like though – add more water if you want something less rich, or use low fat coconut milk.
You could also cut the coconut milk with another kind of milk too!
I wouldn’t recommending substituting the coconut milk out completely, since it has a decadence that’s hard to find with other kinds of milks. Plus, the flavor of coconut goes realllyyyy nicely with taro.
Sweetener
Rock sugar is most traditional here, but I use brown sugar. I always have it on hand, and I like the caramelly flavor with the coconut milk and taro.
Any other sweetener is fine to use, including granulated sugar, honey or maple syrup.

- 2 cups peeled and cubed taro
- ½ cup sago
- 1 can full fat coconut milk
- ½ cup water
- 3 tablespoons brown sugar
- 1 pinch kosher salt
-
Bring a medium pot of water to a boil. Add the taro and cook until fork tender but not falling apart, usually 20-30 minutes.
-
Drain off the water and transfer the taro to a big bowl.
-
Add more water to the same pot of water and bring that water to a boil. Add the sago, stirring occasionally to make sure it doesn’t stick to the bottom of the pot. Cook for 10-15 minutes, or until the sago is mostly clear (it’s okay if there’s a little white in the center).
-
Drain the sago and transfer the sago to the bowl with the taro.
-
Add the coconut milk, water, brown sugar and salt to the taro and sago. Fold the mixture gently to help keep most of the taro intact.
-
Ladle into bowls or cups and serve!
Leftovers can be kept in the fridge for up to 3 days, but this dessert is best eaten within a few hours of making it so that the sago stays bouncy.


Leave a Reply