chinese taro cake recipe
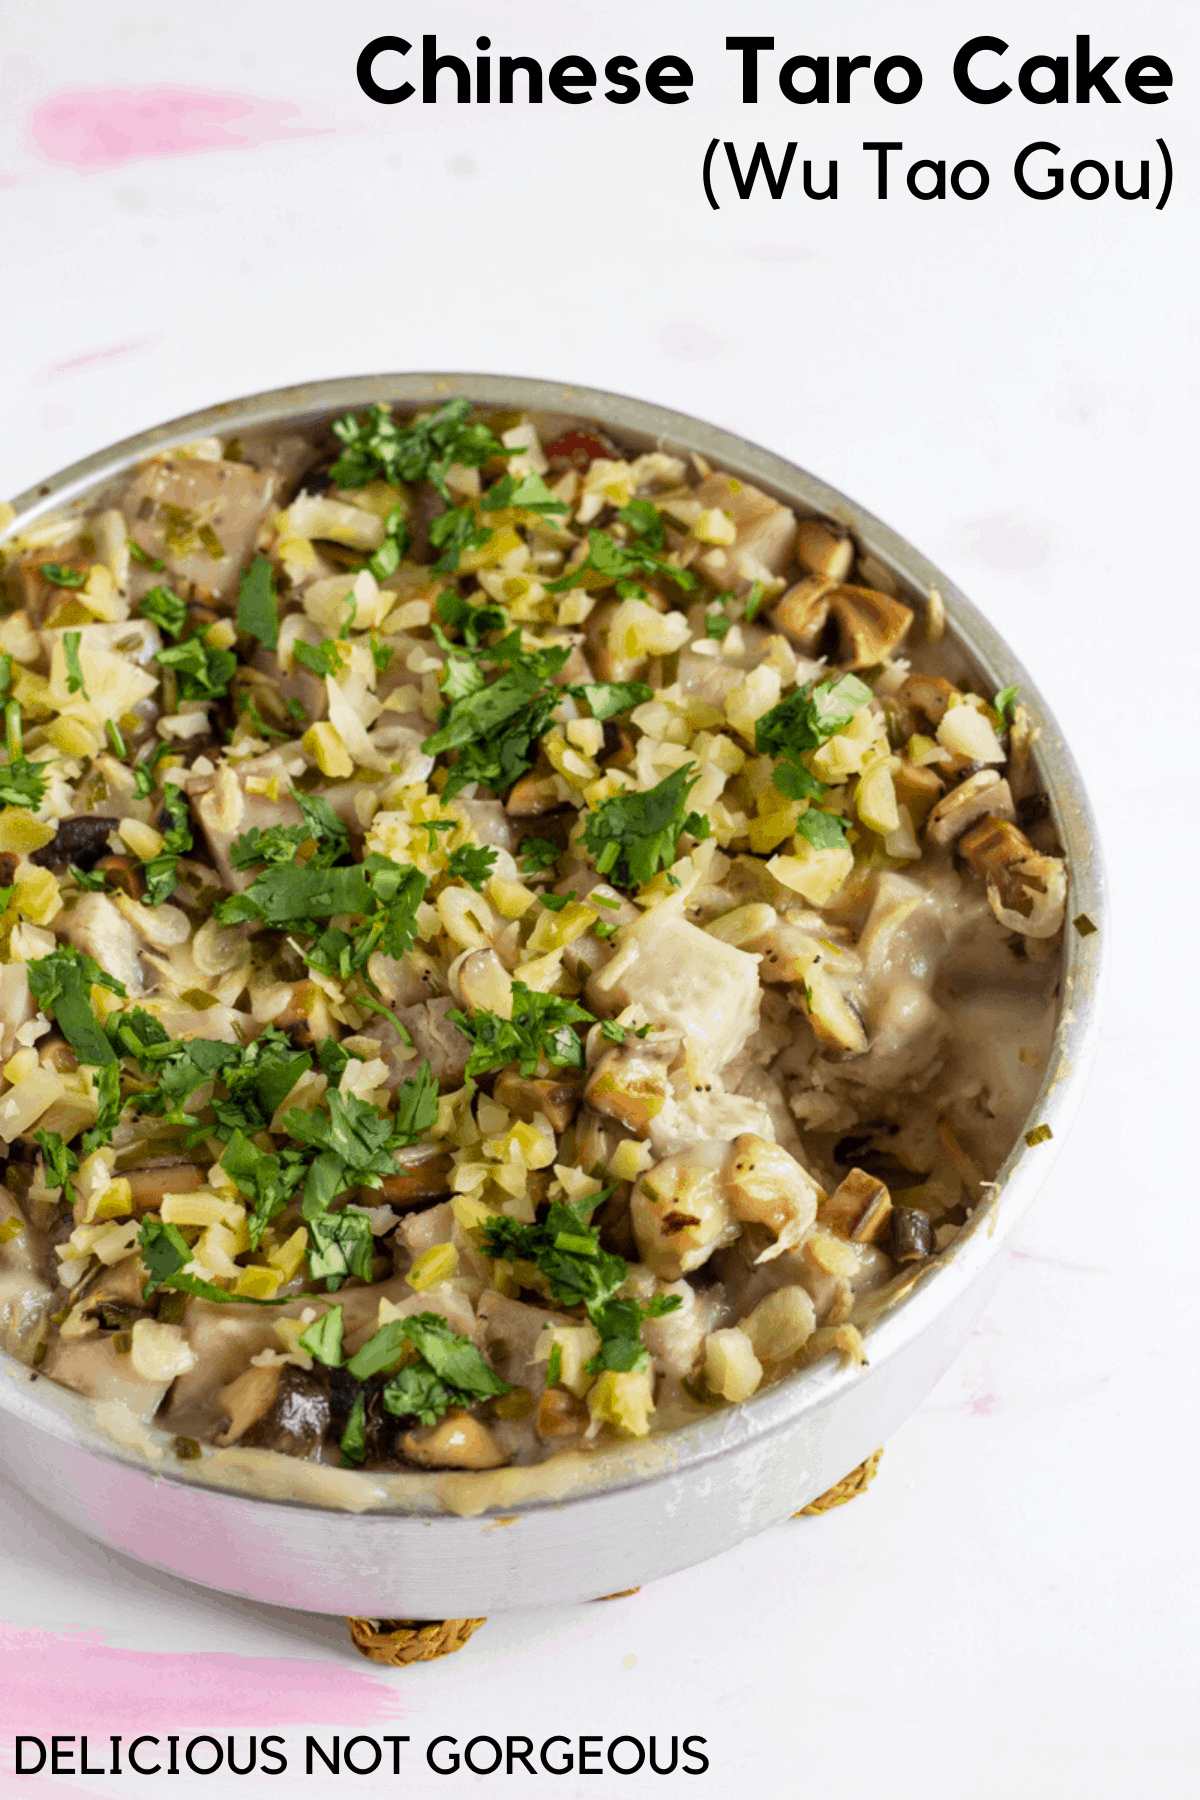
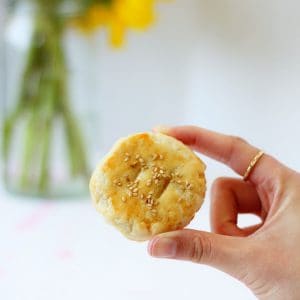
taro cake, or wu tau gou, is a savory steamed cake filled with starchy taro, salty lap cheong (chinese sausage; i grew up eating this in sticky rice) and chew dung gu (shiitake mushrooms; i throw these into everything, especially steamed egg). it’s really soft when it comes out of the steamer, so cutting it into slices and pan-frying it makes the wu tao gou the perfect soft on the inside, crispy on the outside texture.
if you’ve gone to dim sum, chances are, you’ve had taro cake (wu tau gou) or turnip cake (lo baak gou). they’re usually served in square slices, the pasty white steamed cake peeking out between crispy golden brown bits. besides the obvious difference (taro cake uses taro, turnip cake uses turnip), they’re also made a little differently. taro cake features cubed taro, so the final product is chunkier; turnip cake uses grated turnip, which melts into the rest of the cake, making a softer, more homogeneous texture.
the water to rice flour ratio: 2.5 parts water to 1 part rice flour
- there are taro cake recipes floating around with all sorts of ratios: 4 parts water to 1 part rice flour, 1 part water to 1 part rice flour, and everything in between.
- this recipe (aka my grandma's) straddles the line and is closer to 2.5 parts water to 1 part rice flour, making for a batter that's easy to mix (those 1:1 batters feel like you're mixing cement), and helps you end up with a cake that's bouncy and a little chewy.
- it looks way too loose, almost as if the mix-ins are floating in a pool of liquid, but the taro soaks up the excess water so the final taro cake isn't soupy.
the cooking method: pressure cooker
- i personally don't have a steamer, so i usually make do with a skillet, a mini circular rack that helps me raise the cake pan up a little, and a lid. this works, but it takes forever (2+ hours) because the skillets at my disposal are shallow and i can't add much water at once.
- the most recent batch i made was in a pressure cooker, with the aforementioned mini circular rack place on top of the pressure cooker insert and the cake pan on top of that. it took 15 minutes on a high steam and a natural release. using a pressure cooker ⅛ of the time that it normally takes for my skillet to do its job and no active water level checking for me make this method a no brainer for me, even if the mix-ins floated to the top of the taro cake and weren't as nicely distributed.
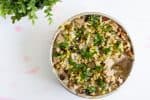
the final taro cake is bouncy and a little chewy, a good foundation for all the other goodness mixed into it. you can add whatever you'd like to the wu tau gou; here, i've added lap cheong for that salty, fatty meat vibe, while the shrimp is less aggressive but still adds to the base flavor. the shiitake mushroom and taro add chewiness and starchiness respectively, and there's pickled mustard greens on top for a little crunchy salty pickly bite.

- 2 links lap cheong (Chinese sausage), chopped
- ¼ cup dried shrimp chopped
- 4 shiitake mushrooms diced
- 4 scallions chopped
- 1 pound taro peeled and cut into ½-inch cubes
- 1 teaspoon kosher salt
- ½ teaspoon white pepper
- 2 ½ cups water
- 1 cup rice flour
- 1 tablespoon soy sauce
- 1 teaspoon sesame oil
- ¼ cup chopped cilantro
- ¼ cup chopped pickled mustard green bulb
-
In a medium pan over medium-high heat, add the lap cheong and pan-fry until crispy and it renders its fat, 5-10 minutes. If there’s no sheen to the pan, add some more oil. Add the shrimp and mushrooms, and stir-fry for another minute. Add the scallions and taro, and stir-fry for 3 minutes. Season with salt, white pepper and sesame oil. Remove from heat and let it cool slightly.
-
In a large bowl, mix the water and rice flour together until well combined; it should be really thin and watery, like a really watery pancake batter. Now add the taro mixture (no need to wait for it to cool completely). Mix until combined.
-
Generously oil one 8-inch round cake pan, and pour the mixture into the pan. The mix-ins should be barely submerged; if they aren't, add enough water until the mix-ins are submerged and gently mix the batter to re-combine.
-
If you have a pressure cooker: place a metal rack in your insert, add enough water to come up halfway up the rack (about 1 cup), and place the taro cake on top of the rack. Cook at high pressure for 15 minutes, then let it naturally release.
-
If you have a steamer: steam the taro cake in your steamer for 45 minutes. Make sure you start with enough water so the water does not dry out halfway.
-
If you have neither a pressure cooker nor a steamer, use a wide, moderately deep skillet. Place a metal rack in the skillet, add enough water to come up halfway up the rack, and place the taro cake on top of the rack. Cook over medium heat; depending on how deep your skillet is, this can take 1-2 hours. Add water as needed if you see the pan start to dry out.
-
The taro cake will be done when a toothpick inserted into the center of the cake comes out clean.
-
Remove the wu tao gou from the cooking apparatus, and drizzle with the soy sauce and sesame oil. Sprinkle the cilantro and pickled mustard green bulb on top, then scoop and serve hot. You can also let it cool, then slice and pan-fry in a pan with some oil until crispy.
Make sure to use rice flour, not glutinous rice flour. You can find it at an Asian market packaged in a clear bag with red font.
The batter needs to be really watery because the taro soaks up a lot of liquid.


The-FoodTrotter says
What a surprising cake ! I've never used taro nor eaten, but I should try to be slightly more curious 🙂
Laura says
Heather, my son is a big fan of taro. I've never cooked with it, but this sounds like something he wold love. Hopefully can find some here as I'd love to try this recipe!